Managing Linux User Accounts
Contents
Managing Linux User Accounts#
In a previous article we discussed Linux Account Types. In this blog article, we will discuss managing Linux user accounts.
List current users#
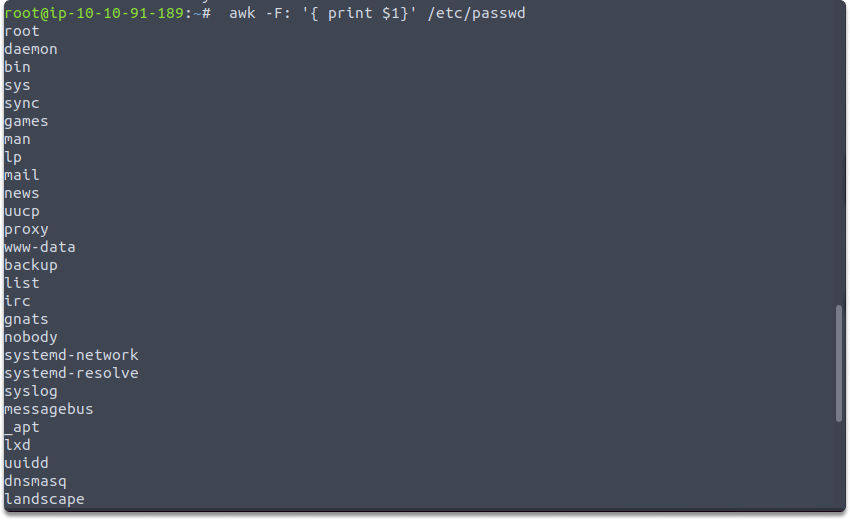
First, let’s list all users with this command. With the help of awk we will display only the user names on the console.
awk –F: ‘{ print $1}’ /etc/passwd
Add new users#
To add a new user account, you can run the adduser or useradd command, as root user.
$ adduser elya
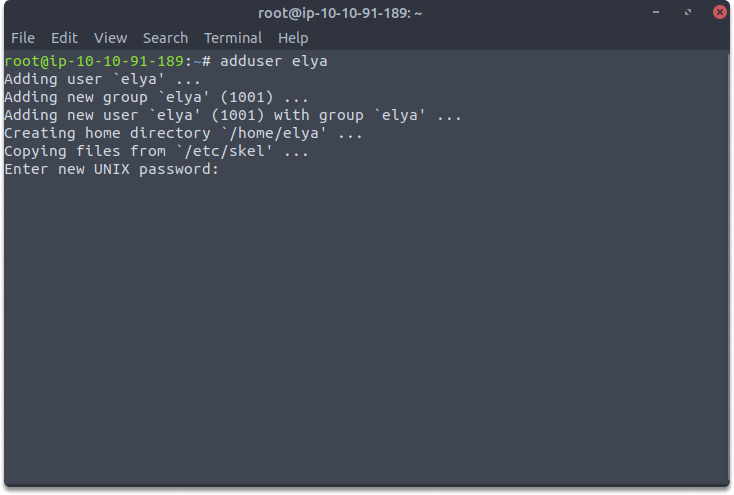
And you can hit enter all the rest after specifying and retyping the password

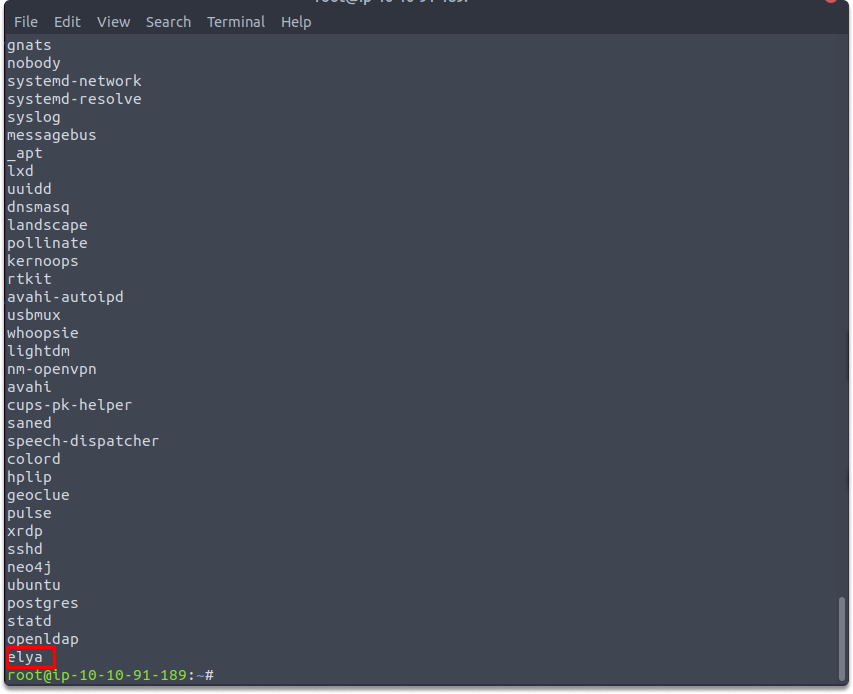
Let’s run this command again to verify that we have successfully created a new user named elya.
Delete users#
Let’s delete elya account. You can delete an account by using theuserdel command with the -r option.
$ userdel elya

Let’s run the previous command to verify the deleting action.

Switch users#
Let’s have a look at how to shift an account from root to a regular user. The’su’ command, which stands for switch user, is used to switch users.
Switch from root to regular user:
$ su <regular_username>

Let’s switch from root to elya. Run this command: su elya
Now let’s go back to root again. You just need to run this command.
$ exit

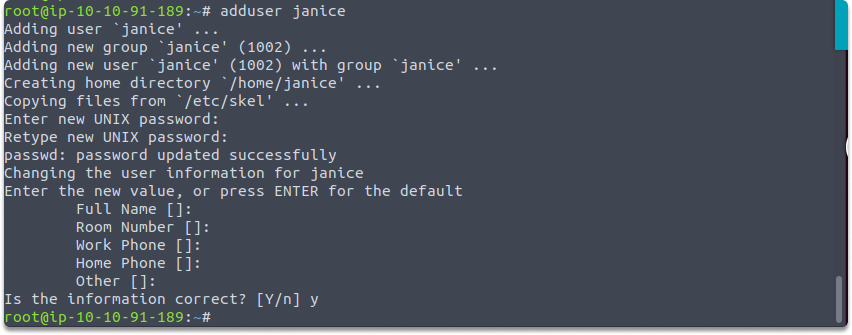
Now let’s create another use named janice. And let’s switch from root to elya and then to janice.
adduser janice
su elya
su janice
exit

Quick project: Applying add, delete, switch user commands in terminal#
Time estimated: 5 minutes
Open your terminal and list all current users
List current users with this command:
$ awk –F: ‘{ print $1}’ /etc/passwdCreate the accounts provided in the chart.
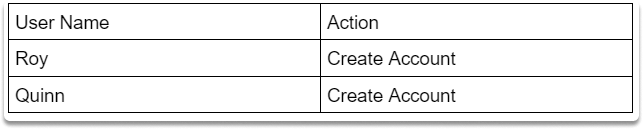
After creating these accounts verify by running the list current user command you learned.
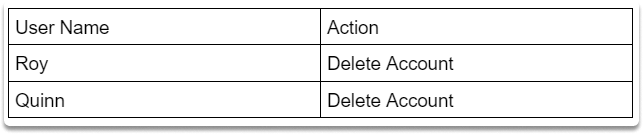
Before deleting the users, switch from Roy to Quinn by utilizing
$ su <name>And complete the task with the following delete user action.
Congratulations. Now you know the basics of the user account system on Linux and you are capable of listing current users, changing users and performing adding/deleting actions.